Dungeon Module System--Revised
There are two reasons for a modular dungeon system; the first is that it allows you to re-use rooms you create in multiple setups, while the second is that a standardized system allows multiple people to build rooms independently and know they'll work together when the time comes. BrickQuest can be played without a modular dungeon, but this system is designed for flexibility and standardization.
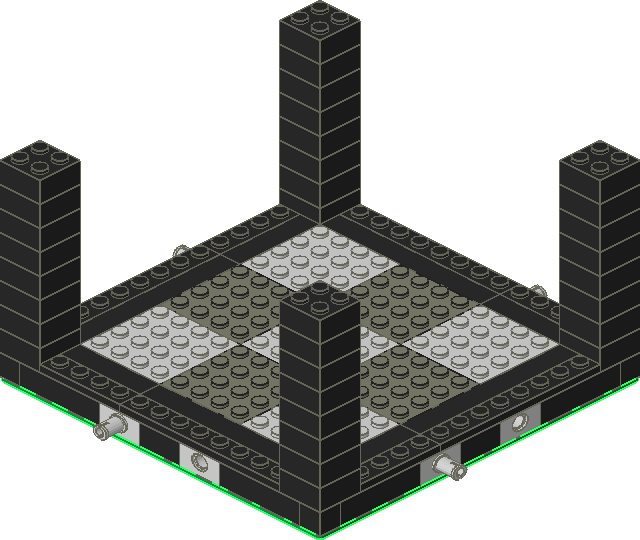
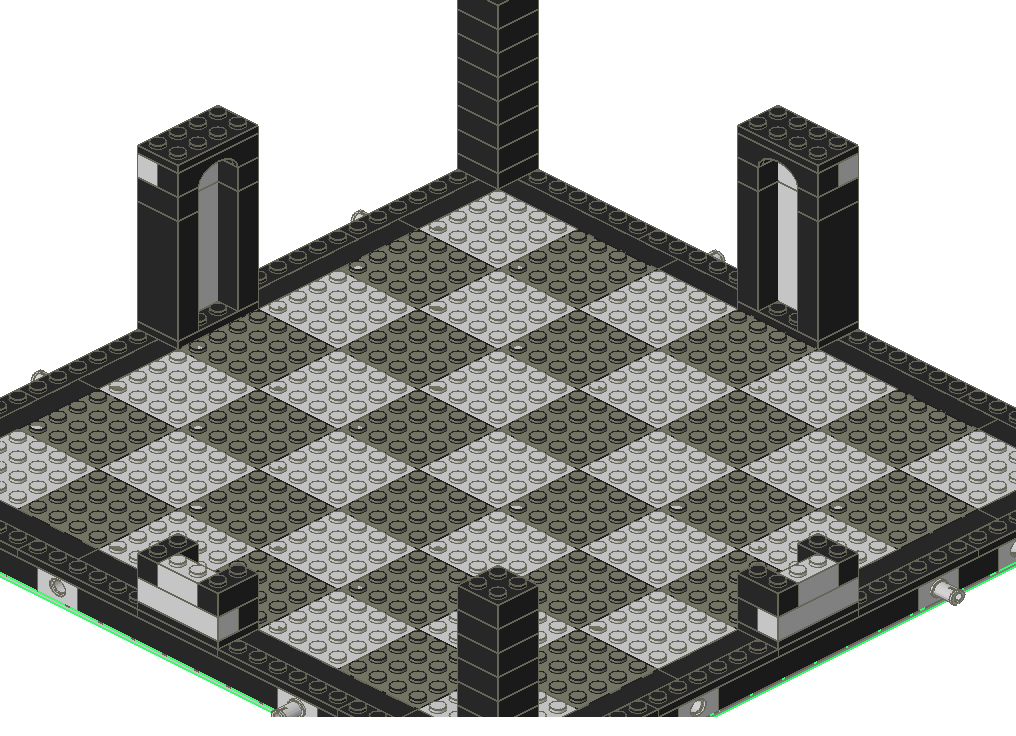
Walls are built to full height on two sides of the room for visual impact, but to a lower height on the other two walls to allow players to see in and to move their characters easily. You should always use the same two sides for the high walls. The corners are built to full height in order to support a room above; depending on the configuration, some additional supports might be needed.
This system improves upon the old in several ways:
Each room shown here has one or more 12-stud-wide connections on each side to allow passage to other rooms. These connections can be covered with walls, 4x4 plates, or arch or door modules. When building a room you do not have to build the connection on all sides or use modular walls in those spaces; unique, built-in-place walls add character to rooms and dungeons. Do make sure you don't always leave the connections just on the sides that would get low walls, though, or you'll find that adventurers have nowhere to go in your dungeon.
Example
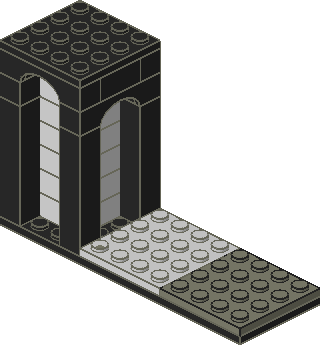
Here's a sample three-room dungeon showing three connection options: a one-square-wide arch, two squares plus a wall, and three 4x4 squares. You can also see how the tall walls are always on the same two sides. One connection is left open to fit another room.
Room Modules
Standard room sizes are 16x16 studs, 16x32 studs, and 32x32 studs. The floor arrangement is to allow any room to connect to any other room without causing a disconnect in the color pattern. Click any room to view instructions for building it.

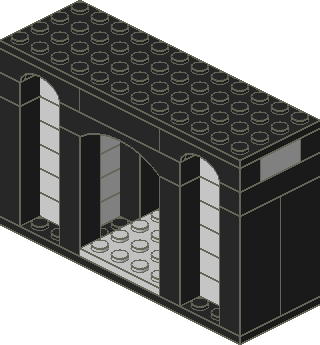
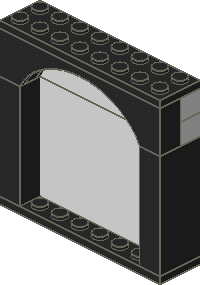
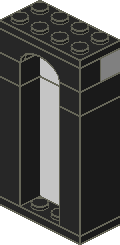
Connectors
These are a couple of example connectors to show how modules may be joined. Other possibilities abound, including secret doors. Click any to see instructions for building it.
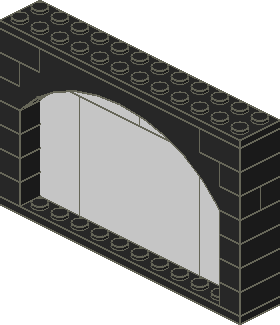
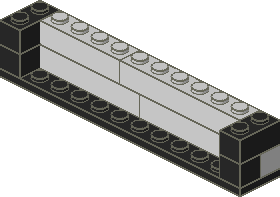
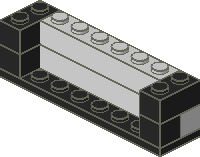
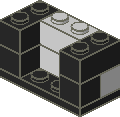
Walls
If you're using the connectors above, you'll probably only need 12-stud-wide walls. In a few situations you may need others, or for the sake of variety you may just want to use them in some rooms. Each wall is presented in its short and tall variants. Click any to see instructions for building it.
 |
 |
 |
 |
 |
 |
Planning Tool
Once you've got some of these modules built, you can begin creating dungeons with them.
For those who want to plan their dungeon on the computer--or document their design once finished--I've created parts and a toolbar for use with TrackDraw. Consider these files a beta test or less--TrackDraw does not handle them exactly as I expected, and I'm still working on them. For more information on TrackDraw, including downloads, consult the TrackDraw website and the TrackDraw Yahoo! Group. Once you have TrackDraw installed, you need to add these two files:
All materials
on this site ©2003 by Peter F. Guenther. All Rights Reserved.
Questions or Comments? Email peterg1974@hotmail.com
LEGO® is a trademark of the LEGO
Company, which does not sponsor, authorize or endorse this site.